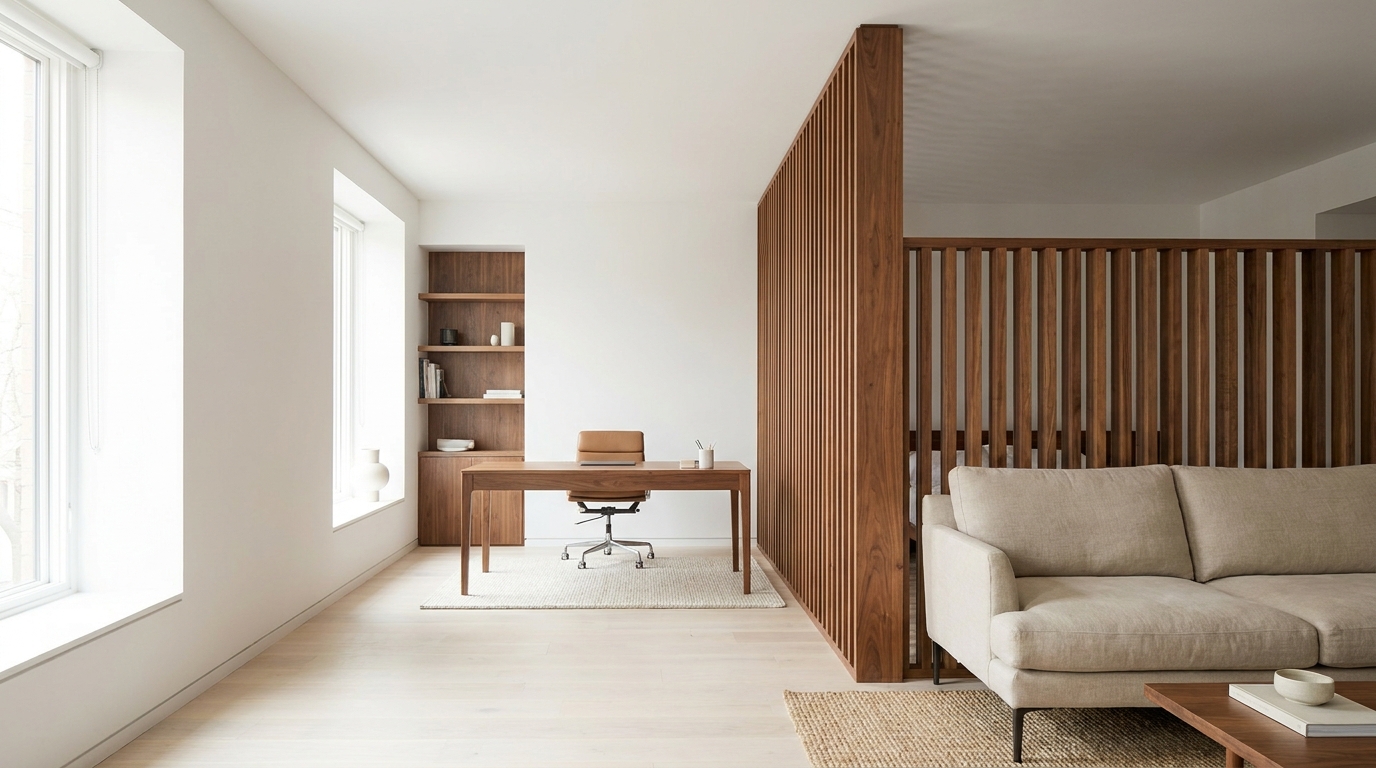
Wood slat room divider installation is a permanent, architectural change to a home — closer to installing built-in millwork than hanging a curtain. That distinction matters, because a lot of homeowners researching room dividers arrive expecting something they can prop up in an afternoon. A well-built slat divider is engineered to be fastened to your ceiling and floor and to stay there, which is exactly what gives it the clean, floor-to-ceiling architectural line that makes open-plan spaces feel intentional again. Here's what the process actually involves, from first measurement to the last slat.
What Professional Installation Actually Involves
A wood slat room divider is built from individual slats — real wood veneer (Walnut, Dark Walnut, White Oak) or paintable MDF — set into a ceiling track and a floor track, spaced evenly along the run. In the ROTERA system, each slat rotates independently for adjustable light and privacy. In FIXERA, the slats are set in a fixed position for a clean, uninterrupted line. Either way, the structural principle is the same: the divider is anchored top and bottom, not freestanding.
That means installation involves:
- Mounting a ceiling track and a floor track, secured into the structure of the room (joists, subfloor, or appropriate anchors depending on your ceiling and flooring type)
- Setting each slat into the track at the spacing determined during planning
- Leveling and aligning the full run so the slats sit plumb, floor to ceiling
- Fastening any end brackets or wall connections where the divider meets an existing wall
None of this is a weekend improvisation. It's closer to installing a built-in bookcase or wainscoting — precise, permanent, and worth planning properly before the first bracket goes up.
Step-by-Step: From Measurement to Finished Divider
1. Measure the space
Every installation starts with exact numbers: wall-to-wall width, ceiling height, and any obstructions (vents, light fixtures, sloped or vaulted sections). Primo Panels' Build and Price tool takes these measurements along with your chosen finish, system (ROTERA or FIXERA), slat profile, and gap spacing, and returns an exact slat count and layout — so the order matches the room before anything ships.
2. Choose your system and profile
ROTERA suits spaces where you want to dial light and privacy up or down throughout the day — a home office that becomes a guest space, for example. FIXERA suits a permanent visual boundary where adjustability isn't needed, like separating a living room from an entry hall. Cross-section size (2"x4", 2"x5", or 2"x6") changes how substantial the divider reads in the room — wider profiles read bolder and more architectural, narrower profiles feel lighter and more transparent.
3. Install the ceiling and floor tracks
This is the structural core of the job. The ceiling track is fastened into the ceiling structure, and the floor track into the subfloor, both positioned to the exact layout from step one. Getting this line straight and level is what makes the finished divider look like it was built into the room rather than added to it.
4. Set the slats
Each slat is placed into the track at the planned spacing. For ROTERA installs, this is also when the rotation hardware is fitted and tested so every slat pivots smoothly. For FIXERA, slats are locked into their fixed position along the run.
5. Final alignment and finishing
The last stage is fine adjustment — confirming every slat is plumb, the spacing is even end to end, and any wall or end brackets are fully secured. For paintable MDF finishes, this is also when on-site painting or touch-ups typically happen, since the material ships primed and ready for a matched wall color.
Vaulted and Sloped Ceilings Need a Custom Approach
Standard ceiling tracks assume a flat, level ceiling line. Rooms with vaulted or sloped ceilings need custom-angled brackets and, often, slats cut to a stepped or tapered length so the top edge follows the ceiling's pitch instead of leaving a gap. This is planned at the measurement stage, not improvised on installation day, which is why an accurate initial measurement matters even more in these rooms.
What to Expect on Installation Day
Most single-room installations run from a few hours to a full day, depending on the length of the run, the ceiling height, and whether any custom brackets are involved. Homeowners should expect some noise and dust typical of any fastening-into-structure work, and a clear path to the installation area for materials and tools. Because the divider is a permanent fixture, take the same care with wall and ceiling condition, wiring, and vents nearby as you would before any built-in carpentry project — this is the point to flag anything unusual to your installer, before tracks go up.
Why Permanent Installation Matters
It's worth being direct about why this system is built the way it is, rather than as a freestanding or leaning panel. A track-mounted, floor-to-ceiling divider doesn't wobble, doesn't need furniture to brace it, and reads as an actual architectural element of the room rather than a piece of furniture placed inside it. That's the difference between a decorative screen and a real room divider — and it's why permanent installation, done properly, is worth the extra planning up front.
If you're weighing a wood slat room divider for an open-plan living room, home office, or bedroom, start with accurate measurements and a clear sense of which system fits how you'll use the space. Everything downstream — track position, slat count, bracket type — follows from getting those two decisions right.
Primo Panels supports every stage of this process, from initial measurement through final installation, with custom brackets available for non-standard ceilings and full guidance on ROTERA and FIXERA systems. The goal at every step is the same: a divider that looks and performs like it was built into the room from the start, because structurally, it was.